
FitHaven journal
Sauna Ventilation: Plan Fresh Air First
A well-planned sauna needs more than heat. It needs a clear path for fresh air, moisture and the everyday rhythm of using the room.

Sauna ventilation is easy to overlook because it is usually hidden in the finished room. Yet it has a direct effect on how comfortable the sauna feels, how the heater performs and how the room dries when the session is over. The right question is not simply, “Where do I cut a vent?” It is, “How does this specific room, heater and home move air together?”
That distinction matters because a finished infrared cabin, a custom electric sauna and a wood-heated outdoor sauna are not the same project. Their equipment, controls and building conditions can be very different. A generic online diagram is useful only as a prompt for better questions. The installation manual for the exact heater or cabin is the decision document.
What good sauna ventilation is meant to do
A sauna needs a controlled way for fresh air to enter and used, humid air to leave. That exchange helps the room feel more comfortable during a session and helps moisture leave afterward. It also supports the heater and controls working in the conditions their manufacturer intended.
For an electric sauna, Harvia’s current ventilation guidance says the room air should change six times an hour. That is a useful manufacturer reference, not a number to apply blindly to every product or building. The final plan still depends on the heater, whether ventilation is mechanical or gravity-driven, the room volume and the instructions supplied for the equipment you choose.
Ventilation also protects the practical side of ownership. After a session, warm moisture needs a deliberate drying path. A sauna that is pleasant for twenty minutes but stays damp for hours creates a maintenance problem that can quietly spoil the experience. The best time to plan drying is before the walls are closed, not after the first humid week.

Why one universal vent layout is not enough
Search results often make vent placement sound settled: one opening by the heater, one on the opposite wall and the job is done. Real sauna documentation is more specific. Placement can change with the heater type, the ventilation method and the location of a separate temperature sensor. A layout that makes sense for one product can interfere with another product’s controls.
Harvia’s guidance distinguishes between electric and wood-heated saunas, as well as between mechanical and gravity ventilation. For example, it gives different supply-air guidance for mechanical ventilation and gravity ventilation. That is exactly why a homeowner should not copy a drawing from a different sauna project without checking it against the manual for the selected equipment.
The temperature sensor deserves particular attention. Incoming air should not cool the sensor or otherwise disturb its reading. If it does, the heater may respond to the wrong conditions. The specific sensor location, minimum distances and vent arrangement belong together on the same plan. Treat them as a single system rather than three separate decisions.
Begin with the room, heater and building conditions
Before discussing vent sizes or fan choices, define the room. Is this a factory-built indoor cabin, a custom room within the home, a backyard building or an outdoor kit? What is the heater type? Where does the door open? Is there an adjacent bathroom, changing space or mechanical room? What existing ventilation does the home already have?
Those details change the conversation. An indoor sauna has to work alongside the rest of the building, including nearby rooms and existing ventilation. An outdoor sauna raises a different set of questions about weather, the building envelope and the heater’s installation requirements. A wood-fired heater adds combustion and fire-safety considerations that should be handled according to the heater manual and local requirements, not improvised from a general article.
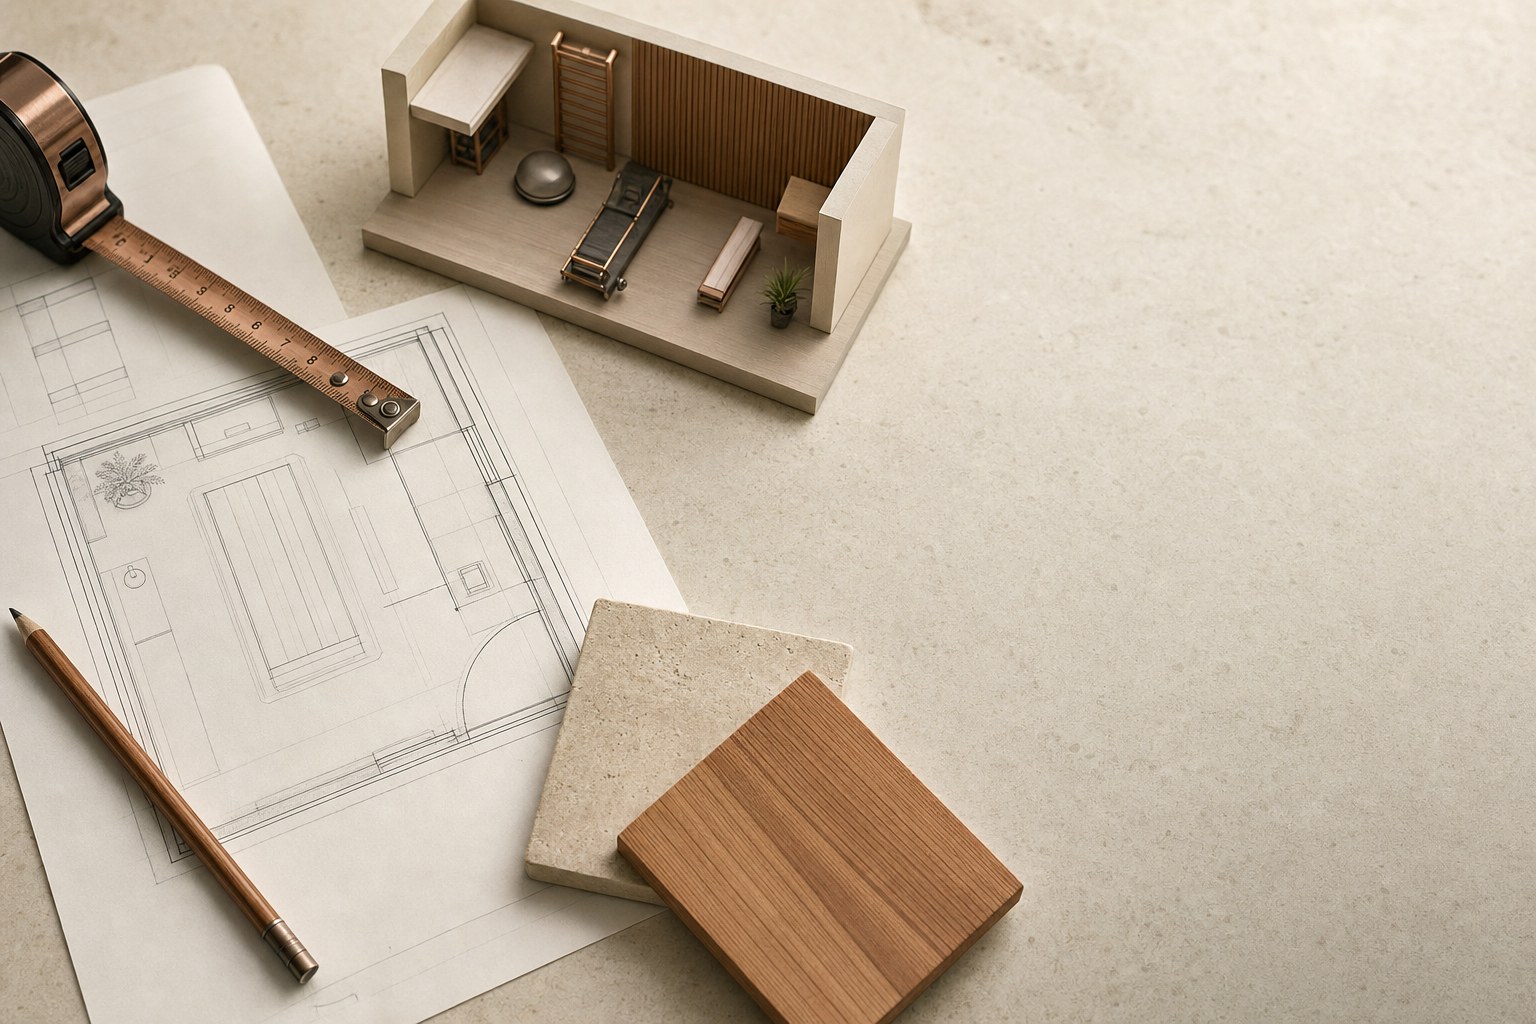
Sketch the cabin or room at full scale before finalizing the layout. Include benches, the heater, the door swing, the sensor, the possible air path and the route to the outside or adjacent space. FitHaven’s home sauna dimensions guide is useful for the broader space-planning sequence. It can help you settle the room before detailed installation decisions begin.

Mechanical and gravity ventilation need different planning
Gravity ventilation relies on natural air movement. Mechanical ventilation uses a fan or building system to move air. Neither approach should be chosen from a generic preference alone. The selected heater’s instructions and the building conditions determine what is appropriate.
With gravity ventilation, the location of the fresh-air inlet and the exhaust outlet has to support natural circulation through the room. With mechanical ventilation, airflow is actively controlled, which introduces additional decisions about where the supply comes from, where the air is exhausted and how that movement interacts with the heater and sensor. The plan may also need to coordinate with the home’s broader ventilation system.
That is why fan selection should not be a last-minute retail purchase. A fan can change how the room behaves. If the project involves ducts, a new fan, a custom indoor sauna or an alteration to a home’s existing systems, bring in the appropriate qualified installer or building professional early. They can work from the model-specific instructions, room drawing and local requirements.
Plan drying as an everyday habit
Ventilation is not only about the active session. Once the sauna is off, the room still needs to dry. Harvia’s guidance describes an optional drying vent that remains closed during heating and bathing, and notes that drying can also involve leaving the door open after bathing. Your chosen model may specify a different sequence, so follow its instructions.
Make the drying step easy enough to happen every time. Think about the path you take after a session: where towels go, whether the door can open fully, how the room is left and how you know the system has been returned to its normal state. A simple routine is more likely to be maintained than a complicated procedure with several hidden steps.
Also consider materials and access. The room should be easy to inspect and clean around the areas that need care. Do not block a required opening with a shelf, hamper or decorative panel. A calm sauna is not a bare sauna, but every object should leave the manufacturer-required access and airflow intact.

Questions to settle before you order
A good sauna shortlist includes more than seating capacity and finish. Ask for the current installation information for each model and make sure the answers are for the exact heater or cabin, not a similar listing. If a detail is unclear, treat that as a question to resolve before the room is built.
- What ventilation method does this exact sauna or heater require?
- Where must the supply and exhaust openings be placed?
- Does the product use a separate temperature sensor, and what clearances does it require from the air supply?
- Does the room need a dedicated drying vent or a particular after-use routine?
- What electrical, ducting, building or professional-installation work needs to happen before delivery?
- How will the ventilation plan coordinate with the room beside the sauna and the rest of the home?
These questions make a sales comparison more honest. If one option has beautiful finishes but uncertain installation requirements, it is not yet the easier choice. The stronger candidate is the one that fits the intended room, routine and project team with fewer unresolved assumptions.
Common mistakes that create expensive friction
The first mistake is treating a sauna as a sealed box. Heat and wood make the room feel self-contained, but people and moisture still need a considered air path. The second is assuming an existing household vent, bathroom fan or gap under a door can automatically replace the system described in the product manual. It may not.
Another common problem is resolving the vent route after benches, lighting and wall surfaces are finished. By that point, the simplest path may already be blocked by a design choice that could have been adjusted on paper. Finalize the functional layout first, then make the visible room feel refined around it.
Finally, do not rely on a broad health promise to push a rushed purchase. A sauna can be a valuable part of a wellness routine, but it is not a substitute for medical care. Follow the manufacturer’s safety guidance, keep sessions sensible for your own circumstances and seek a qualified healthcare professional’s advice if you have health questions about heat exposure.
How FitHaven can help
FitHaven is built for decisions that hold up after delivery day. Once you know the room, the likely heater type and the installation questions you need answered, explore the current sauna collection with a much clearer shortlist.
For help comparing available product details, delivery considerations or room fit, contact FitHaven’s support team. Keep the selected model’s current documentation at the center of any ventilation, electrical or building conversation, and use qualified local professionals for the work that affects the home.
Frequently asked questions
Does a home sauna need ventilation?
Yes. The exact layout depends on the selected sauna and heater, but fresh air, an exhaust path and a way to dry the room after use all need to be considered before installation. Use the manual supplied with the exact model as the final instruction.
Where should sauna vents go?
There is no universal placement that safely applies to every sauna. Vent locations differ with the heater, whether the system is mechanical or gravity-driven, the room and the temperature-sensor position. Follow the installation guidance for the selected heater and have any building work planned by the appropriate qualified professional.
Can I add a fan to any sauna?
Do not assume so. Mechanical ventilation changes airflow and may have specific requirements in the sauna and the surrounding building. Confirm the exact heater and room requirements before choosing or placing a fan.
How do I dry a sauna after use?
Use the drying approach stated by the manufacturer. Depending on the model, that may include a dedicated drying vent, an open door after the heater is off or a specified mechanical system. Drying should be part of the everyday routine, not an afterthought.
Related reading
Home sauna
Home Sauna Dimensions: Plan the Room First
A practical guide to measuring a home sauna project, from interior comfort and door swing to delivery access and model-specific clearances.
Plan the room →
Home sauna
Home Sauna Buying Guide: Choose With Confidence
A practical way to choose the right home sauna, from heat style and room planning to power, delivery and long-term care.
Choose with confidence →