
FitHaven journal
Home Sauna Dimensions: Plan the Room First
The right home sauna starts with the room around it. Measure the full project before comparing capacity labels, finishes or features.
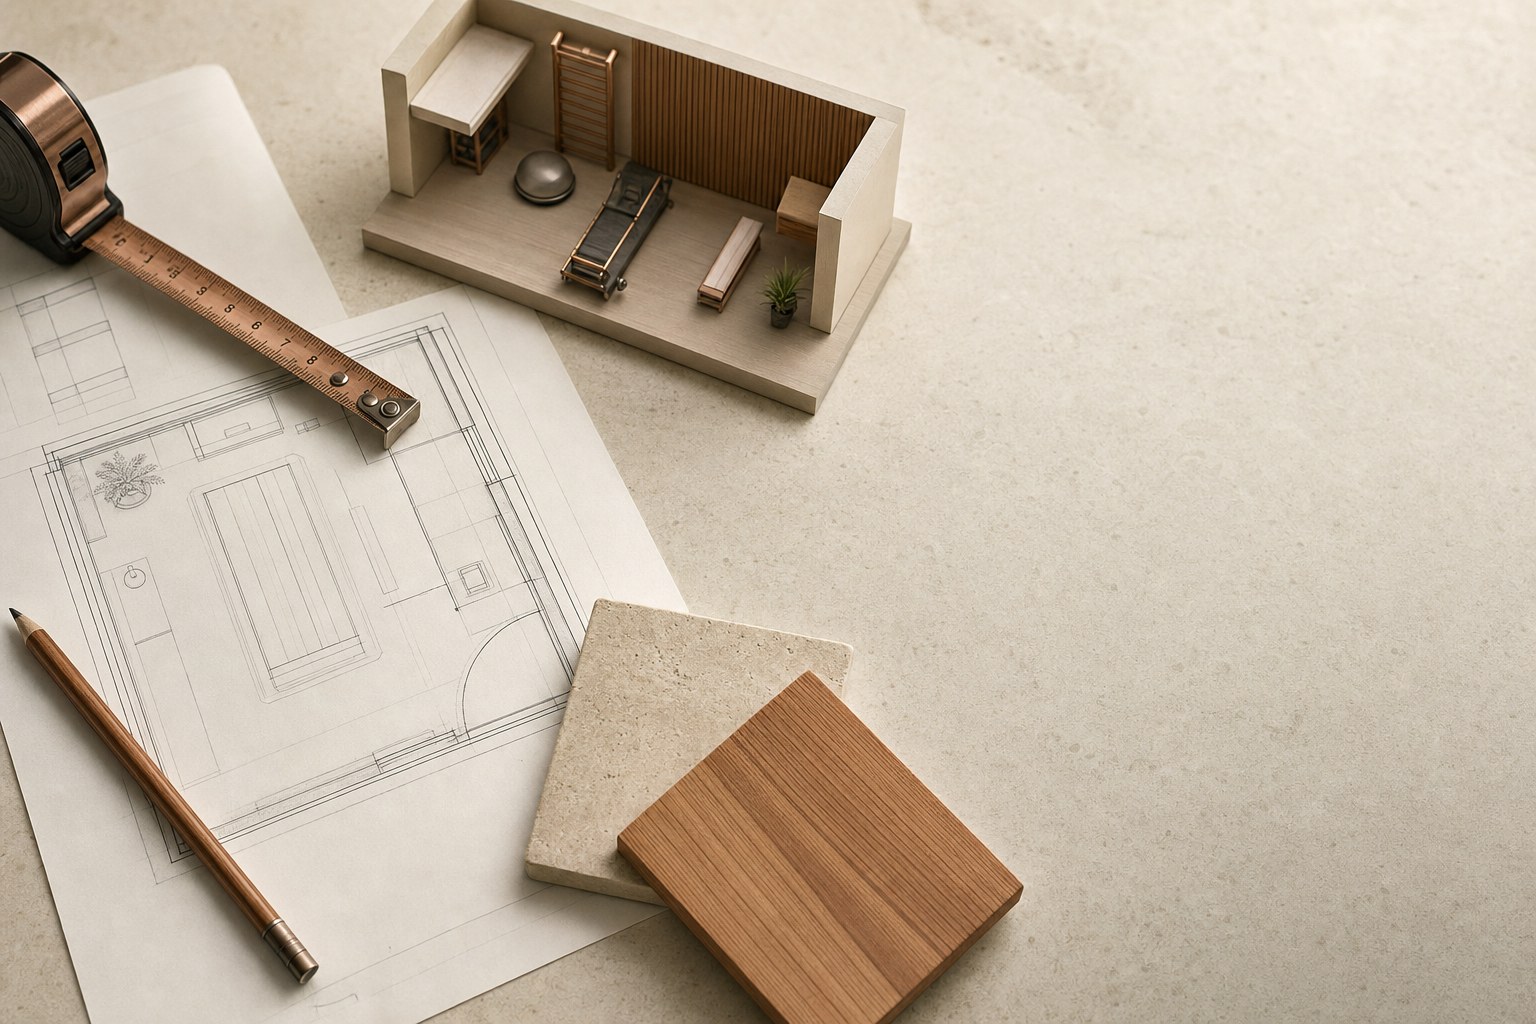
Home sauna dimensions are easy to misunderstand because a product listing answers only one part of the question. A cabin may fit on a floor plan yet be awkward to enter. A room may seem generous until a door swings open, a delivery crate meets a turn in the hallway, or the required space around the exact model comes into view.
The useful measurement is not simply the width and depth of a sauna. It is the complete area needed to deliver it, install it, use it comfortably and keep it in good condition. That approach gives you a more confident shortlist and keeps a handsome purchase from becoming a complicated room project.
Start with the way the sauna will be used
Before pulling out a tape measure, describe the ordinary session you want. A compact cabin can be a lovely fit for one person who plans a quiet, seated routine. A shared session, room to stretch, or a family ritual changes the layout worth considering. Capacity labels are a starting point, not a promise of comfort.
Look at the usable interior rather than only the product headline. Can two people sit without crowding the door? Is the bench deep enough for the posture you prefer? Does the heater, in a traditional sauna, take meaningful space away from the seating area? In an infrared cabin, do the panel locations make sense for the seats you will use? A comparison of infrared and traditional sauna formats can help clarify which kind of heat and layout fits your routine.
Published ranges can help you form a first expectation, but they vary widely. One current home-sauna dimensions guide places a two-person format around 4 by 4 to 4 by 6 feet, while larger three- and four-person rooms often move into a 5 by 7 or 6 by 8 foot range. Treat those as early planning ranges, not a substitute for the exact specification sheet.
Measure the complete footprint, not the interior
Manufacturers may list interior dimensions, exterior dimensions or both. For a home project, the exterior number is the one to mark on the floor. Wall construction, glass, trim and roof overhangs can all make the outside footprint larger than the space where you sit. A traditional sauna guide illustrates why the distinction matters: its sample 5 by 7 foot interior room needs a materially larger exterior footprint once the walls are included.
Use painter’s tape to mark the listed exterior width and depth where the sauna will stand. Then stand inside that outline, open a mock door path and walk around it. The question is not whether the unit technically fits. The question is whether the room will still feel easy to enter, leave and live with after the project is complete.
For an indoor sauna, include baseboards, radiators, windows, low ceilings, outlets and anything else that reduces usable room. For an outdoor sauna, think beyond the cabin itself. The base, drainage, weather exposure, electrical route and property requirements belong in the plan before a location feels final. FitHaven’s Outdoor Oasis collection can help you compare the broader setting, while the model documentation and local professionals should guide the technical details.
Make the door and delivery route part of the drawing
A sauna can fit the finished room and still fail the trip to that room. Measure the narrowest point from the delivery location to the final placement: gates, exterior doors, stair landings, hallway turns, interior doors and ceiling obstructions. If the product arrives as panels, ask how those panels are sized. If it arrives as a larger assembled structure, confirm the delivery instructions before you commit to a tight route.
Door swing deserves the same attention. An outward-opening sauna door needs clear floor space in front of it. A room door, a nearby closet and the sauna door can create an awkward collision if their swings overlap. Mark each swing on a simple sketch. This quiet piece of planning often tells you whether a 2-person cabin is genuinely right, or whether a slightly different orientation would make the entire room work better.
For a shared setup, also picture the small practical details. Where does a towel go? Is there enough space to step out without immediately meeting a wall or equipment? Can another person pass through the room while the sauna is in use? These are not luxury questions. They determine whether the space becomes part of a regular routine.
Check ceiling height, benches and the real comfort of capacity
Ceiling height changes both the feeling of the interior and the models that can work in a room. Prefab infrared cabins often have a fixed overall height. Traditional rooms need to accommodate the specified heater, benches and ventilation approach. Do not assume a basement corner or room beneath a stair has enough height because its floor area looks generous.
Bench design makes capacity labels meaningful. A recent sizing guide, drawing on Harvia guidance, identifies about 20 inches as a minimum useful bench depth and roughly 24 inches per seated adult as a practical starting point. Those are planning references, not universal rules, but they give you a better way to read a product diagram. A “four-person” room with short or shallow usable benches may be best for two people who value room to settle in.
If you hope to lie down, bench length becomes decisive. Measure your intended resting position, not only the cabin’s overall width. A longer bench can make a smaller sauna feel more generous than a square layout with a higher capacity label. This is especially valuable when comparing options in FitHaven’s indoor sauna collection, where the model’s own drawings should settle the final comparison.
Let the exact model set the clearances and electrical plan
There is no responsible one-size-fits-all clearance number for a home sauna. Traditional heaters have their own required distances from walls, benches and guards. Infrared cabins can have their own placement, ventilation and electrical expectations. Glass, room finishes and the construction of the sauna can also affect the specifications that matter. Use the installation manual for the exact model, not a generic rule copied from another sauna.
Do the same for power. A home sauna may use a standard outlet, require a dedicated circuit or need a hardwired connection. That is a model-specific decision for a qualified electrician, made before delivery rather than after a favorite cabin has been selected. The goal is simple: compare only the options your home can support without improvising the important parts.
It helps to keep a one-page project sheet for each finalist: exterior dimensions, interior dimensions, height, door location, electrical requirement, manufacturer clearance guidance, delivery path and any site preparation. That turns scattered product details into a decision you can actually compare.
Choose orientation before you choose a finish
When a room is tight, the direction a sauna faces can matter as much as the model itself. Turn the same footprint ninety degrees and a blocked doorway may become a clear entry. Place the door toward the open part of the room and the routine can feel natural. Place it toward a passageway, a laundry area or a competing door swing and the project may feel crowded every time someone uses it.
Draw the room as a simple rectangle and add the permanent elements first: doors, windows, stairs, built-in storage, radiators, floor drains and electrical panel access. Next, draw the sauna to its published exterior dimensions. Leave the technical clearance information visible rather than turning it into assumed empty space. Then sketch where a person will stand when the sauna door opens and where towels, water and any nearby seating will live.
This small exercise also separates a sauna room from a storage corner. The best location is usually not the largest bare rectangle. It is the place that protects a simple arrival and exit: walk in, settle down, step out and move on with the day. In a basement, that may mean preserving the main route through the room. In a home gym, it may mean avoiding the path around equipment. In an outdoor setting, it may mean placing the entrance where snow, rain and the walk back to the house are manageable.
If two layouts appear possible, mock up both with tape on the floor before you decide. Stand at the proposed door, take a few normal steps and imagine carrying a towel or moving past another person. The better orientation is often obvious once the room is experienced at full scale.
A practical room-planning checklist
Use this checklist before moving from inspiration to a final product shortlist:
- Measure the final location at floor level and at the ceiling.
- Mark the model’s exterior dimensions, then add its published door swing and clearance guidance.
- Walk the delivery route and record its narrowest width, lowest height and tightest turn.
- Compare usable bench length and depth against the people who will use the sauna most often.
- Confirm the exact electrical requirement with the model documentation and a qualified electrician.
- For outdoor projects, plan the base, drainage, weather exposure and route for power before ordering.
- Keep the product manual with your sketch so the final decision stays tied to the model, not a generic online rule.
Take photographs of the proposed location and delivery route, too. They make it easier to have a useful conversation with an electrician, installer or support team without relying on a vague memory of the room.
This is not about making the project feel complicated. It is about resolving the few questions that create expensive surprises. Once those are settled, the visual and comfort decisions become much more enjoyable.
How FitHaven can help
FitHaven is a useful place to compare the equipment after your room sketch is in hand. Start with the sauna collection, then use the product specifications to narrow the field. If a two-person format is your likely fit, the two-person infrared sauna planning page gives you another focused way to compare space, comfort and delivery considerations.
Bring your measurements to the conversation. A short, accurate room sketch makes it easier to compare what is possible and avoid a model that asks too much of the space.
For help reading available product details or thinking through delivery and room fit, contact FitHaven’s support team before ordering. FitHaven can help make the product information easier to compare, while the exact installation requirements should always come from the chosen manufacturer and the qualified professionals involved in your project.
Frequently asked questions
What is the smallest practical home sauna size?
A compact one-person infrared cabin can fit a much smaller footprint than a traditional sauna room, but the exact exterior size, door clearance, electrical requirement and manufacturer guidance should decide whether it is practical for your room. Mark the complete model footprint before treating a corner as available.
How much room should I leave around a home sauna?
There is no universal clearance number. Use the installation guide for the exact model, then allow for the door, electrical access, ventilation or service needs, and a comfortable route around the sauna. The published exterior dimensions are only the first measurement.
How large should a two-person sauna be?
Two-person labels are not a standard measure of comfort. Compare the actual interior bench length, depth, door placement and heater or panel layout. A cabin may hold two people while still feeling tight for the way you intend to use it.
Should I measure the room before choosing a sauna?
Yes. Measure the final location, ceiling height, route into the room, doorway and any turns before narrowing products. This prevents a model that looks right online from becoming difficult to deliver or use at home.
This article is for general planning information, not medical advice. For safe sauna use, follow the instructions for your specific model, stay hydrated and speak with a qualified healthcare professional about personal health concerns. Cleveland Clinic’s sauna safety guidance recommends extra care for people with relevant medical conditions and anyone who feels unwell during use.
Related reading
Home sauna
Home Sauna Buying Guide: Choose With Confidence
A practical way to choose the right home sauna, from heat style and room planning to power, delivery and long-term care.
Read the guide →
Home sauna
Infrared vs. Traditional Sauna: Which Fits Your Home?
Compare infrared and traditional saunas by heat, room planning, installation and the ritual you want to keep.
Read the comparison →