
FitHaven journal
Home Gym Layout: Plan Your Room Before You Buy
A good home gym layout does not begin with a shopping list. It begins with the room, the way you actually train and the clear space each movement needs.

The layout is what turns a room full of equipment into a space you will use. It decides whether the door opens cleanly, whether you can adjust a bench without moving three other things and whether your first exercise feels simple to begin. The goal is not to fit the most equipment into the room. It is to give your regular training enough space to happen comfortably and safely.
That distinction matters before a delivery is booked. A product footprint tells you where an item sits at rest. A useful layout also accounts for the room to step on, step off, load, adjust and move through the exercise. Start with the complete routine, then let the plan narrow the equipment choices.
1. Start with a measured room, not a rough idea
Measure the room wall by wall. Record the clear length and width, then note the lowest ceiling point, doors, door swings, windows, radiators, columns, closets and outlets. In a basement, measure below every beam and duct, not only to the highest part of the ceiling. In a garage, include the travel path and hardware of the door before treating that ceiling area as usable space.
Next, walk the delivery route. Measure exterior doors, hallway turns, stairs, elevator openings and the final doorway. This is especially useful for a larger cardio machine, a rack, a cable station or a recovery product that may be awkward to turn once it arrives. A room can look generous and still have one narrow point that changes what is practical.
Put the information into a simple sketch. It does not need to be beautiful. A graph-paper drawing, a scaled digital plan or a carefully marked floor can all work. What matters is that the fixed parts of the room are honest. The golf simulator room planning guide follows the same principle: the dimensions that cannot move should shape the decision first.

2. Choose one anchor routine
Most disappointing home gyms try to serve every possible workout equally. A better layout starts with the training you want to keep when the week becomes busy. That may be strength work with a bench and weights, a daily bike or treadmill session, a cable-based routine or a compact space for dumbbells and mobility. Write down the two or three movements that matter most, then make those the anchors of the room.
The anchor deserves the best position, not the last empty corner. If strength is central, the rack, bench or primary lifting area needs the clearest zone. If you will use cardio most mornings, the machine should be easy to reach and pleasant to use, not blocked by stored plates or a folded bench. A secondary category can still fit, but it should not compromise the activity that makes the room worthwhile.
FitHaven’s Training collection is a sensible place to compare categories once you know the role each piece must play. Choosing by the job the equipment does in the room is more useful than choosing by what looks impressive in isolation.
3. Draw operating zones before equipment footprints
Place the open areas first. Mark the space you need to stand, lie down, step back, load plates, extend a cable attachment or safely get on and off a machine. Then place the product footprint within that boundary. It feels backward at first, but it prevents the classic mistake of buying a machine that technically fits while making the exercise awkward.
Exact clearances depend on the model, so the product manual is the deciding source. As a useful example of why that matters, a TRUE Fitness space-requirements diagram shows a large safety zone behind one treadmill model. That is not a universal number for every treadmill, but it is a good reminder that the deck dimensions are only part of the room requirement.
For free weights, draw the bar path, plate-loading access and the clear floor you need for your actual exercises. For a bench, test the approaches from both sides and the room needed to set it at an incline. For cable equipment, account for the path of the handle and your body, not only the cabinet against the wall. If the working zones overlap in a way that forces you to move equipment every session, simplify the plan.

4. Keep one clear route through the room
A layout should make the next step obvious. You should be able to open the door, reach the main station, take an accessory from storage and leave the room without threading through a course of sharp corners and loose equipment. Map that route while each operating zone is in use, not when the room is empty.
Storage is usually where layouts lose their calm. Plates, dumbbells, mats, attachments and towels all need a home, but the closest open patch of floor is rarely the right one. Use walls, a deliberate corner or an integrated storage solution where it does not interrupt the route to the main station. Keep the items used every session accessible, and place occasional accessories out of the movement path.
This approach also helps a shared room stay generous. If one person is on a bike, another person should still be able to get water or use storage without crossing the active area. If that cannot happen, do not force a second large machine into the plan. A smaller, better-arranged setup will feel more capable in everyday use.
5. Test the plan at full size before you order
Once the layout looks promising on paper, tape it out on the floor. Include the equipment footprint and the complete working zone around it. Open doors, stand where you would stand for an exercise, move a bench through its positions and walk the route to storage. This simple test catches problems that a product grid and a room photograph cannot show.
Be strict about the first version. If the plan works only when everything is perfectly tucked away, it will not feel good on a normal Tuesday. Leave enough space for a towel, a water bottle, the plate you just removed and the small mess of a real workout. The room should recover easily after use, not demand a reset before every session.
Run the test in the order you would actually train. Enter with a bag or water bottle. Start the warm-up. Set the bench into position. Take an attachment from storage. Finish the session and put everything away. This reveals the small frictions that matter over time: a cupboard door that cannot open beside a bench, a plate tree that blocks the easiest exit or an accessory that has nowhere to go once it is no longer in use. A layout that feels calm in this ordinary sequence is much more likely to become part of your week.
For a compact spare room, choose one capable training lane and protect a small clear floor area. For a larger garage or basement, use the extra depth to separate strength, cardio and open-floor work instead of creating a crowded perimeter. The luxury home gym design guide can help when you are ready to bring flooring, lighting and storage into the wider room plan.

6. Plan power, flooring and delivery as part of the layout
It is easy to place a machine on a sketch and forget what supports it. Check where the outlets are, where a cable or plug would sit and whether the product has model-specific electrical requirements. The right time to identify a practical outlet, dedicated circuit or professional installation question is before the equipment is in the room. Cords crossing a training lane are a sign the layout was finished too early.
Flooring has a layout job as well as a visual one. Consider where you will set weights down, where sweat and cleaning will happen and where you need traction for a warm-up or mobility work. Let the finish define zones without creating a lip, edge or loose mat where you need to walk. The best choice depends on the equipment and the home, so use product guidance and qualified local advice where the project calls for it.
Finally, make sure the delivery and assembly team can reach the planned location. Recheck the narrowest turn, stairs and final doorway against the packed or assembled dimensions the manufacturer provides. If the route is complicated, asking early is far calmer than discovering a problem on delivery day.
7. Let the room tell you what to leave out
Good layouts involve a few deliberate noes. A rack may mean there is no room for a treadmill. A treadmill may mean adjustable weights make more sense than a large multi-station. A small room may be better as a focused dumbbell, bench and mobility space than a compromised attempt at a full commercial floor.
This is not a limitation. It is how the room becomes useful. A short equipment list that supports a consistent routine is more valuable than a packed room that makes every session inconvenient. Leave some visual and physical breathing room, then add specialised pieces only after you have lived with the setup long enough to know what is missing.
Give the layout a short settling-in period. Notice which station you reach for first, which accessory never leaves storage and where people naturally set down their water or phone. Those observations are better evidence than a wish list. If a change makes the room easier to begin using, it is usually worthwhile. If it adds another decision or another obstruction, it probably does not belong yet. Quiet simplicity wins over unnecessary equipment.
A home gym layout checklist
- Measure walls, ceiling height, doors, windows, obstructions and the delivery route.
- Write down the two or three movements you want to repeat most weeks.
- Choose the primary station before selecting secondary equipment.
- Use the exact product documentation for operating space, power and installation needs.
- Draw full movement zones before placing equipment footprints.
- Protect a clear route from the door to the main station and storage.
- Tape the layout at full size and walk through a normal session.
- Leave capacity for small essentials and future changes.
How FitHaven can help
FitHaven can help you compare equipment categories once the room and routine are clear. Browse the strength equipment and cardio collection with your measurements close by, so each option is judged by the role it can play in the finished room.
For help narrowing a room-first shortlist or checking the practical details before an order, contact FitHaven’s support team. Always use the manufacturer’s documentation and qualified local professionals for product-specific installation, electrical and structural requirements.
Frequently asked questions
What should I measure before planning a home gym layout?
Measure every wall, the lowest point of the ceiling, door and closet swings, windows, columns, outlets and the full delivery route. Then check the exact footprint, operating space and installation notes for each shortlisted product.
How much space do I need for a home gym?
There is no single room size that suits every routine. A compact room can be excellent for adjustable weights, a bench and mobility work, while a rack, barbell or treadmill needs a larger operating zone. Start with the movements you want to repeat, then test their complete working space in your actual room.
Should gym equipment go against the wall?
Often, but not automatically. A wall can be useful for storage, a compact cardio machine or equipment designed for that placement. A rack, bench or cable station still needs the manufacturer-specified room to load, adjust and move around it. Protect those working areas before deciding where storage belongs.
How can I test a home gym layout before ordering?
Make a simple scaled sketch, then tape the full operating footprint of each shortlisted item onto the floor. Walk through a normal session, including opening the door, taking weights from storage and stepping on and off equipment. If the test feels tight before anything arrives, choose a smaller setup or a different arrangement.
Related reading
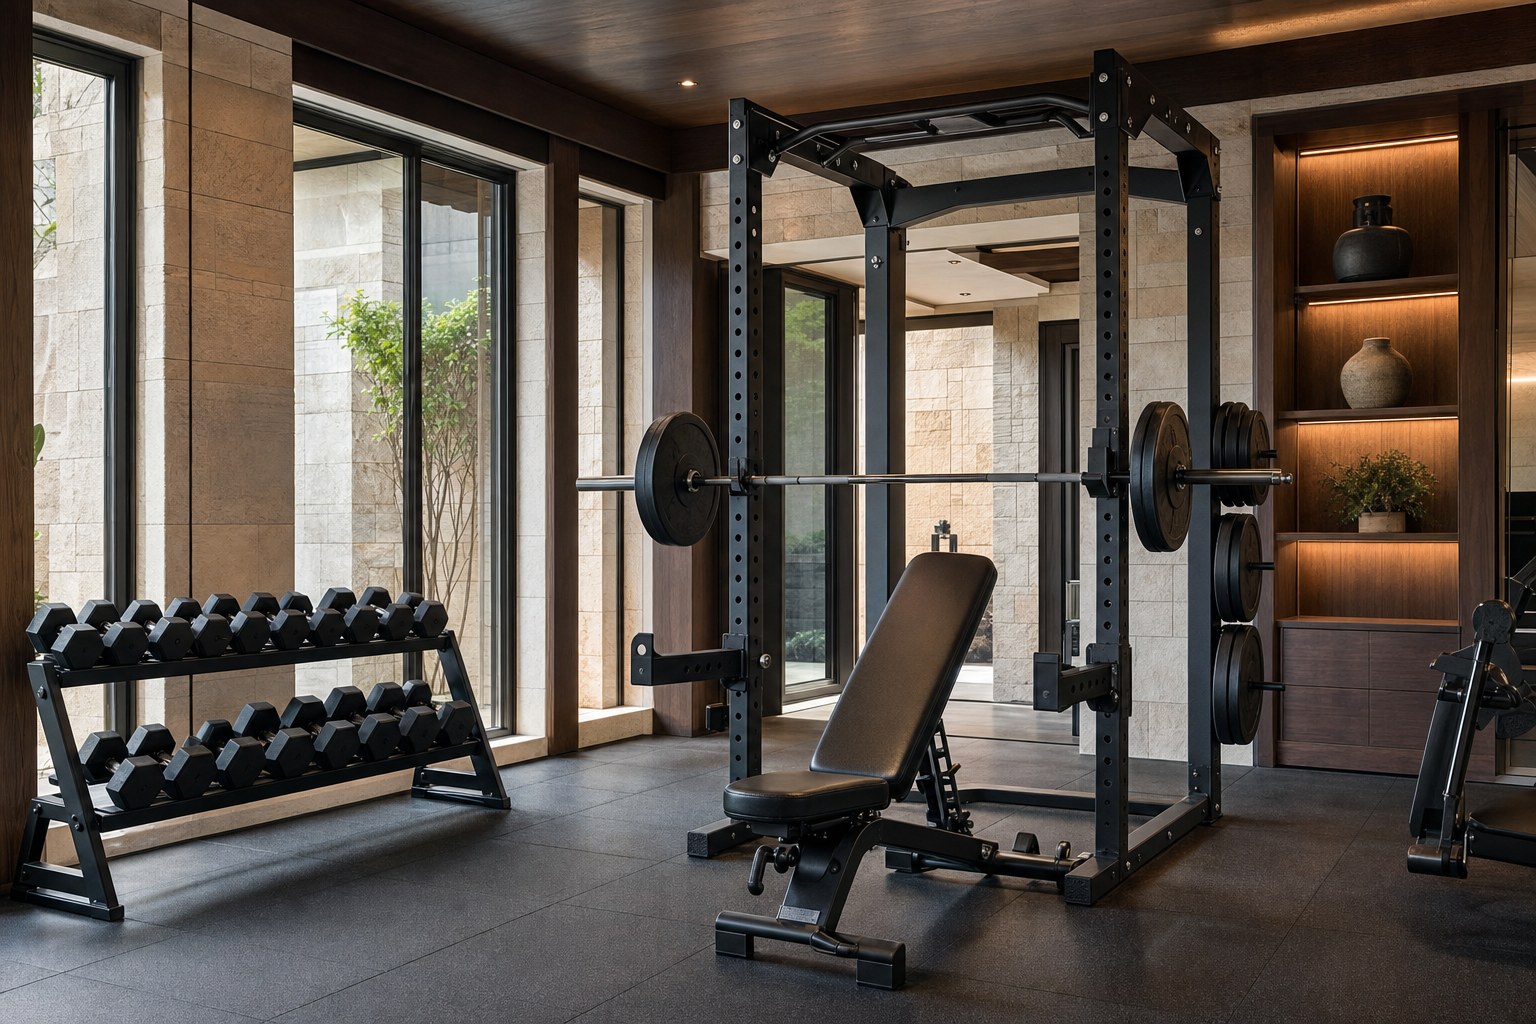
Home gym design
Luxury Home Gym Design: Plan a Space You Use
Design a refined home gym around your routine, room dimensions, equipment zones, flooring, storage and delivery plan.
Design the space →
Golf simulator planning
Golf Simulator Room Dimensions: Plan Before You Buy
Measure ceiling height, width and depth before choosing a home simulator.
Plan the room →