
FitHaven journal
Golf Simulator Room Dimensions: Plan Before You Buy
The right golf simulator begins with the room, not the product list. Measure the space around your actual swing before you choose a screen, launch monitor or enclosure.
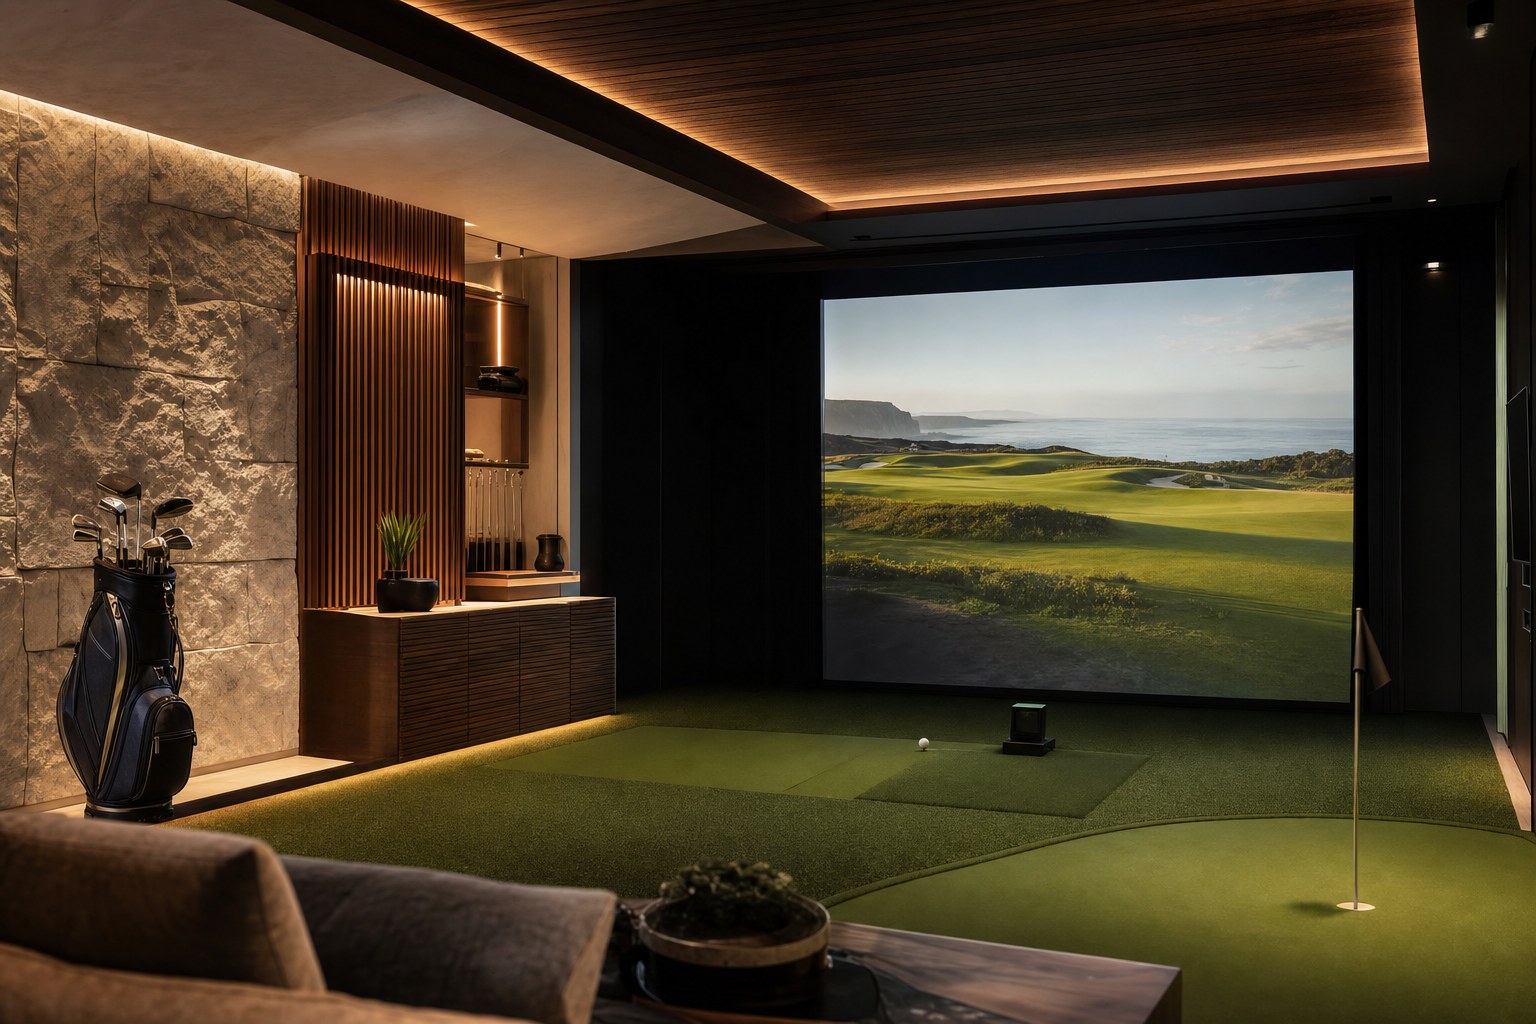
Golf simulator room dimensions are not a single number. A room can look generous on a floor plan and still feel restrictive when a driver reaches the top of its swing, a screen frame uses more depth than expected, or the launch monitor needs a specific position. The better question is: can this room support the kind of golf session you want to repeat, safely and comfortably?
Start with the people who will use the room most often, the clubs they will swing and the system style you are considering. Then measure the finished room from its most restrictive points. Beams, soffits, lights, door swings, heating equipment and the height added by turf or a hitting mat all matter. This simple order protects you from buying an attractive package that asks the room to do more than it can.
Use room dimensions as a starting point, not a promise
Published ranges are useful for a first shortlist, but they are not a substitute for a real swing test. TruGolf’s current planning guide describes a compact starting point of roughly 10 feet wide, 12 to 15 feet deep and 9 feet high. For a more comfortable full-swing room, it suggests 12 to 16 feet of width, 15 to 20 feet of depth and a 10-foot-or-higher ceiling.
Those ranges explain why two rooms with the same square footage can behave so differently. Height, width and depth each carry a separate job. Height protects the swing. Width protects the sides of the swing and makes shared use more realistic. Depth allows the screen, ball flight, hitting position, tracking technology and the space behind the player to coexist. A shortfall in one direction is not always solved by extra room in another. Think of the room as a sequence of positions, not an empty box.
Use the general numbers to decide which category of system may fit. Use the exact dimensions and setup instructions for the particular screen, enclosure and launch monitor to decide whether it actually belongs in your room. That distinction keeps a planning guide helpful without turning it into a false guarantee.
Check ceiling height with the longest club
Ceiling height is often the deciding measurement because it is difficult to change after a room is finished. A golfer needs room for a full backswing and follow-through, not just enough standing headroom. Player height, swing shape and club length all change the safe clearance. A nine-foot ceiling may be workable for one person and restrictive for another.
Before choosing equipment, bring the longest club likely to be used, usually a driver, into the actual room. Stand where the hitting position would be and make slow, deliberate practice swings. Check not just the ceiling plane but the nearest light, duct, garage-door track, fan and beam. Foresight’s room-planning guidance makes the same practical point: the safest test is a real swing with the longest club, while accounting for the height of the hitting mat.
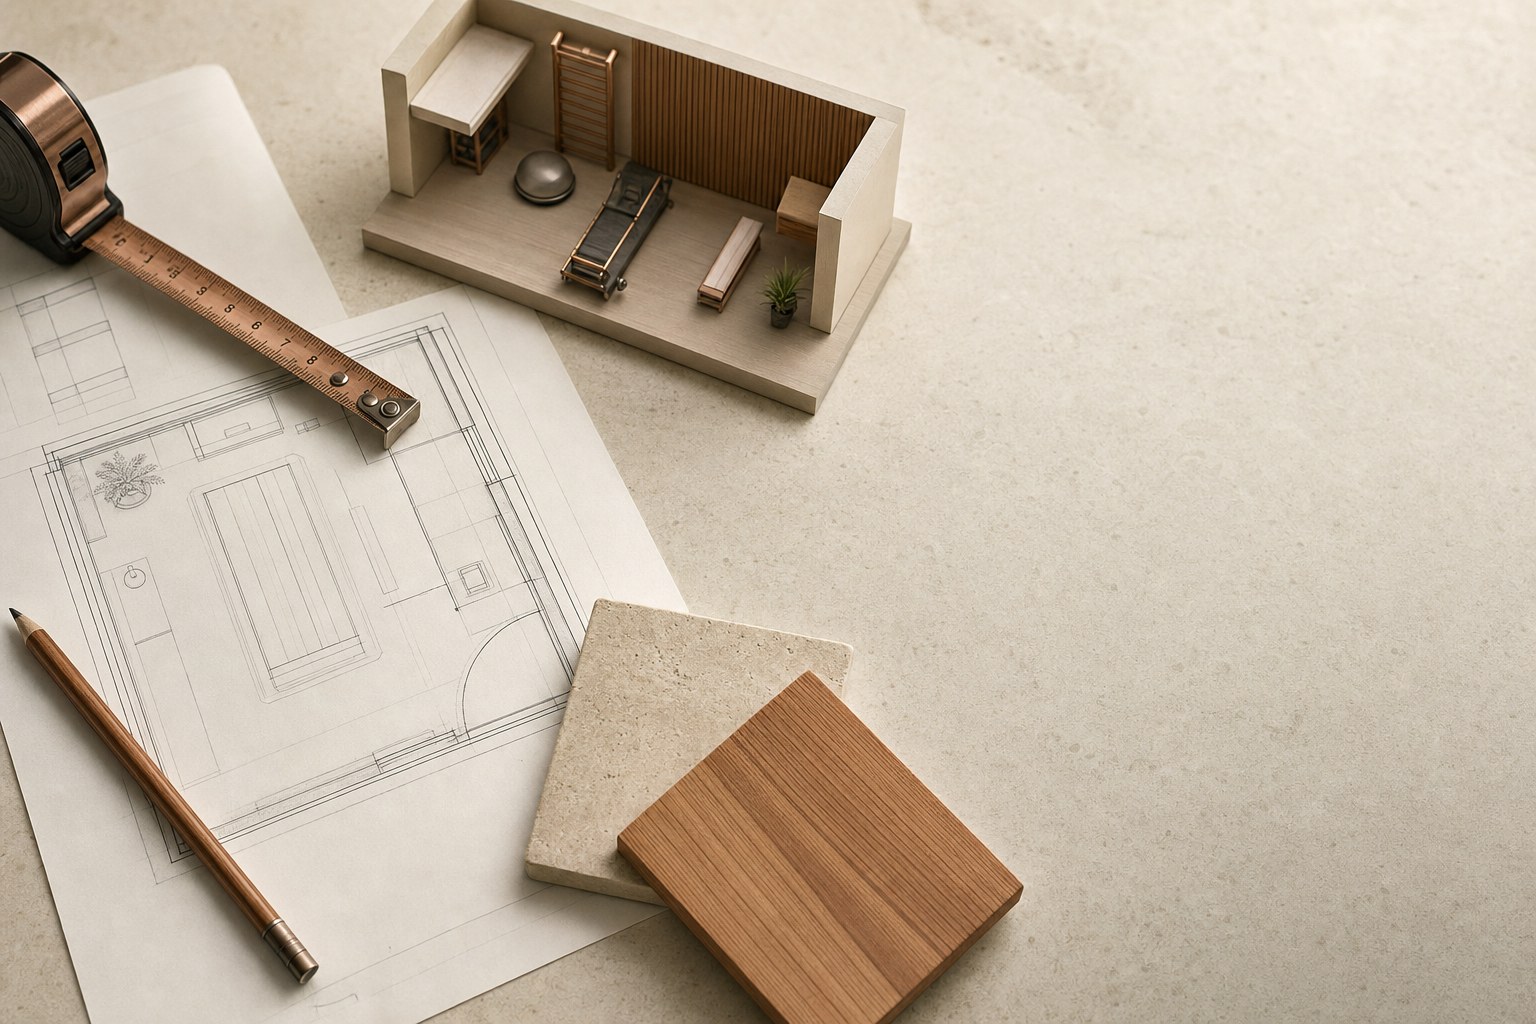
A ceiling that works only when a golfer shortens the swing is not a neutral compromise. It changes the reason for having the room. If the space will be used for short-game practice, putting or compact swings, that may be a perfectly sensible choice. If the goal is unrestricted driver practice and full rounds, do not ask a low ceiling to become something it is not.
Give the swing enough width to feel natural
Width is more than the dimension of the impact screen. It is the clear space around the player at the widest point of the swing. Shelving, wall protection, columns and a screen enclosure can all take usable room away from the number on a tape measure. A centered setup can be comfortable for a single regular player while a room shared by right- and left-handed golfers may need more flexibility.
Mark the prospective hitting position on the floor, then have the regular player make several slow practice swings with the driver. Shift the stance to where it would sit after the mat and screen are installed. This test exposes a frequent surprise: a room may have enough nominal width, but the ideal hitting position cannot be centered once the enclosure, projector path or furniture is placed.
If both right- and left-handed golfers will play, include both people in the test. Some systems make it easy to move the hitting position; others place more constraints on where the ball and tracking equipment can sit. The outcome should be a room plan that supports your regular players, not an assumption that everyone will adapt to one person’s setup.
Map depth from screen to back wall
Depth is where the complete system becomes visible. Starting at the front, account for the screen or enclosure, any needed space behind it, the ball-to-screen distance, the hitting position, the launch monitor placement and clear room behind the golfer. A projector, screen frame and protective padding may also influence where each piece can go.
The launch-monitor style matters. Foresight notes that room depth can determine whether a player can stand far enough from the screen and whether a projector or radar-based monitor can work in the intended position. A compact camera-based option may use a room differently from a radar model that needs more ball-flight space. That is why the equipment should follow the room measurement, not the other way around.
Do not stop at the hitting bay. A little clear space behind the player changes how the room feels when someone walks in, retrieves a club or watches a shot. A simulator that technically fits but leaves no route around the golfer can become inconvenient far faster than a plan on paper suggests.
Make the screen, mat and room work as one
A home golf setup is a group of related decisions: impact screen or enclosure, projector or display, launch monitor, mat, turf, computer, power and storage. Each has a size, position or clearance requirement. The useful room plan puts all of them on the same sketch before any order is placed.
Start with the exact product dimensions. Add the screen or enclosure footprint first, then position the ball and mat according to the selected system’s documentation. Mark where the monitor sits, where a projector throws its image and where a player’s feet will be. Only then add the practical details: clubs, a bag, a bench, a chair and the path to the door. The outcome is a room you can use without constantly rearranging it.
Screen size deserves the same room-first thinking. A wider picture can be inviting, but it needs to sit within an enclosure and a wall that can support it. It also changes the projector choice, mounting position and viewing angle. Let the usable width and the selected system’s current specification decide the screen, rather than treating a screen size as the starting point for the entire project.
Lighting is worth drawing onto the plan as well. A bright window behind the player, an overhead fixture in the swing path or a light that washes the screen can take away from an otherwise careful setup. This does not mean every room needs a dramatic redesign. It means checking the room at the time of day you expect to play and choosing an equipment layout that works with the real light, not the room at its most flattering moment.
Power and cable routes should be considered early, too. Avoid placing equipment where a cord becomes a trip hazard or where a projector, display or computer will need an improvised route across a walkway. The final electrical requirements are specific to the products you choose, so use the current manuals and qualified professionals for that work. A simple sketch makes those conversations far more useful.
This also makes the project easier to discuss with an electrician, installer or support team. Rather than asking whether a simulator will fit in a vague room, you can share a simple drawing with finished width, depth, height, door location, equipment positions and any permanent obstacles. Add the location of the electrical panel, outlets and a likely equipment cabinet. Clear inputs lead to clearer answers, and they help every specialist focus on the same finished room.
Plan for the room you will actually use
A dedicated golf room can be focused and simple, or it can be part practice bay, part place to gather. The right choice depends on how you expect to use it. A solo player who wants quick weekday practice may value a permanent ready-to-hit setup above everything else. A family that will play rounds together may care more about circulation, seating and sightlines.
Decide early whether the room must accommodate spectators, storage or another activity. Those needs are not decorations added after the simulator. They affect depth, width and where the screen can live. A calmer, less crowded room often makes the system easier to use, even if it means choosing a more focused setup rather than the largest possible screen.
For a garage or basement, include the ordinary conditions of the space: door operation, temperature changes, lighting, ceiling fixtures and delivery access. Measure the route from the delivery point to the final room, including narrow doors, stairs and turns. The product may fit the finished bay but still need a realistic way to get there.
A room-measuring checklist
Before narrowing your options, make a one-page room record that includes:
- Finished width, depth and ceiling height at the tightest points.
- The height of the mat or turf beneath the player.
- A slow driver-swing test for every regular player.
- Door swings, windows, beams, lights, vents and fixed equipment.
- The screen or enclosure dimensions and clearance requirements.
- The selected launch monitor’s placement instructions.
- Space for clubs, movement around the player and the route into the room.
- The delivery path, including doors, stairs, hallways and tight turns.
Photographs are useful alongside measurements. They make it easier to compare product information without relying on memory, especially when a low beam or door location could change the layout. Keep the current manufacturer documentation with the sketch so the final plan is tied to real product requirements.
How FitHaven can help
Once your room record is ready, explore FitHaven’s golf simulator collection with a clearer filter. You can also use the home golf simulator room guide to compare the practical decisions around screens, launch monitors, delivery and the intended use of the space.
Bring the measurements to the comparison. FitHaven can help you look through available equipment and product details, while the manufacturer’s current instructions and qualified professionals should settle final installation, electrical and technical requirements. For help making a product comparison easier to understand, contact FitHaven’s support team before ordering.
Frequently asked questions
What is a good room size for a golf simulator?
A comfortable full-swing setup often needs more room than the smallest workable setup. TruGolf describes 12 to 16 feet of width, 15 to 20 feet of depth and a 10-foot-or-higher ceiling as a strong target, but the exact answer depends on the golfer, the launch monitor, the screen or enclosure and the product documentation.
Is a 9-foot ceiling high enough for a golf simulator?
It can be workable for some golfers and compact setups, but it should be tested with the longest club and the real hitting-mat height. A full-speed driver swing must clear every ceiling feature comfortably. If it does not, the room is not a safe full-swing bay for that player.
How much depth does a golf simulator need?
Depth must account for the screen or enclosure, the ball-to-screen distance, the hitting position, the launch monitor’s placement guidance and room behind the golfer. Camera-based and radar systems can use depth differently, so use the exact product documentation before choosing a setup.
Can right- and left-handed golfers share one simulator room?
They can, but extra width and a layout that supports shifting the hitting position may be needed. Plan around the regular players’ real swings, not just the centered screen. The manufacturer’s current setup guidance should decide the final layout.